Planning and Building Architectural Models: From Blueprints to Physical Reality
Architectural scale models are vital tools for urban planning, architectural design, and presentation. Their creation involves integrating various elements, including material selection, process accuracy, and digital technology. This guide outlines the core production process from “blueprints to physical objects”.
1. Preliminary Preparation: Analysis and Material Selection
Before fabrication begins, a thorough analysis of the architectural plans is essential to identify critical information such as building proportions, functional zoning, and material textures.
Material Selection: The choice of materials depends on the building type and display requirements. Common materials include:
* ABS Board: Often used for the main structure due to its good machinability and smooth surface finish.
* Transparent Resin and Metal Sheets: Employed for glass curtain walls and metal components to enhance realism.
* High-density PU Board and Eco-friendly Foam: Used for terrain and landscape elements on a sand table model, simulating natural textures.
Process Planning: Developing detailed accuracy standards early sets the foundation (“precision tone”) for subsequent digital processing and manual detailing.
2. Digital Processing: Accurate Representation of Architectural Form
Modern model production frequently utilizes digital technologies like laser cutting and 3D printing model techniques for efficient creation of complex surfaces and intricate details.
Laser Cutting: Ideal for flat components such as roofs and walls. CAD drawings are imported, allowing precise cutting of building contours, windows, decorative lines, and other details, with dimensional accuracy controlled to the millimeter.
3D Printing: Perfect for irregular or hollow components, like curved balconies or decorative elements. This technique involves 3D modeling and direct printing, overcoming traditional craftsmanship limitations and capturing the “futuristic” or “artistic” essence of the design.
3. Manual Assembly and Detail Polishing
The digitally fabricated parts require manual assembly to achieve structural integrity and enhance the texture of fine details.
Main Body Splicing: Components are assembled layer by layer according to the drawing scale, secured using adhesives, mortise and tenon joints, or other joining methods to ensure stability.
Detail Carving:
* Glass Curtain Wall: Simulated using transparent resin panels with metal lines to represent frames.
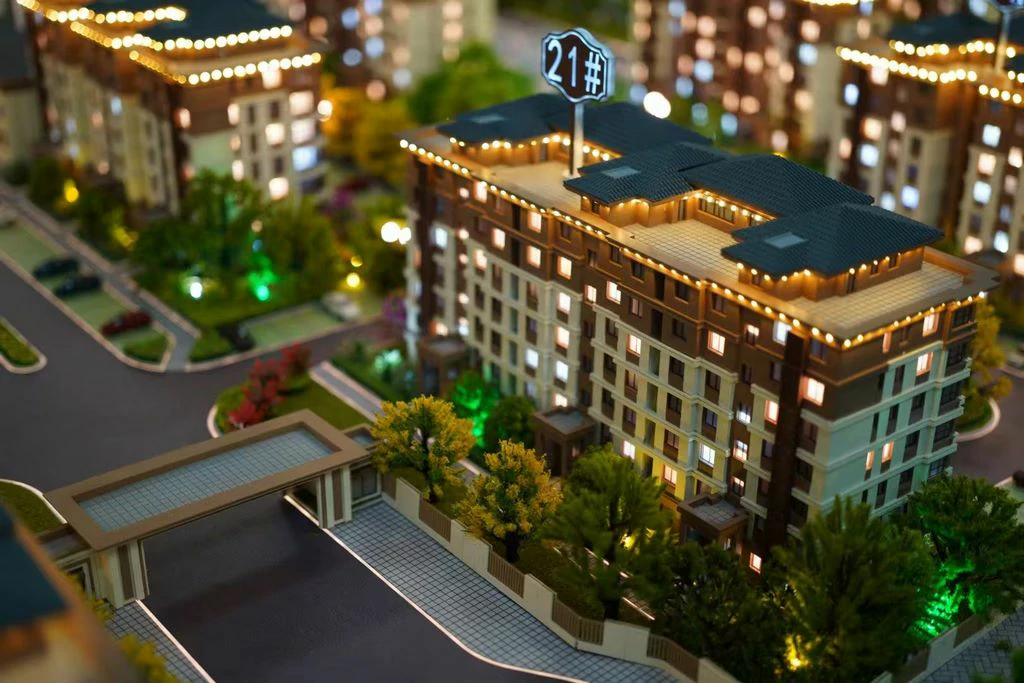
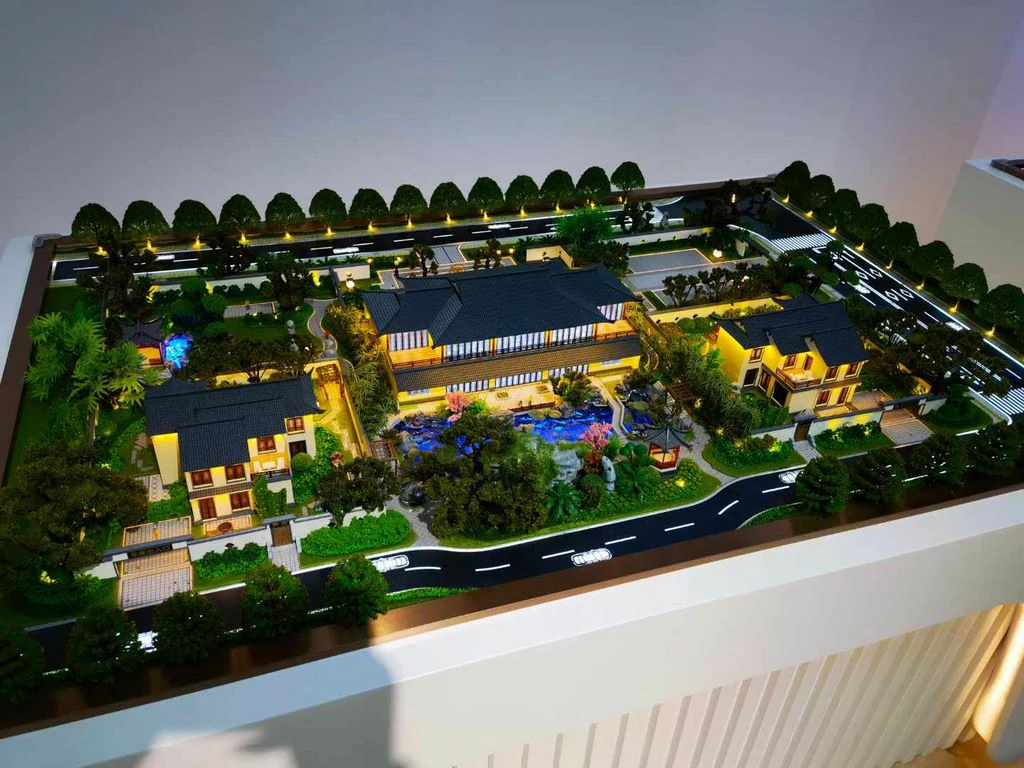
* Roof Tiles: Hand-applied small tiles replicate the layered texture of traditional roofing.
* Landscape Vegetation: Utilizing simulated grass and miniature trees brings green spaces (“vegetation”) to life.
4. Post-Production: Coloring and Scene Integration
Coloring is crucial for bringing the model to life, requiring a balance between accurate color reproduction and scene coordination.
Color Matching: Colors are matched against architectural renderings using tools like acrylic paints and spray paints to faithfully represent exterior walls, doors, windows, and landscape elements.
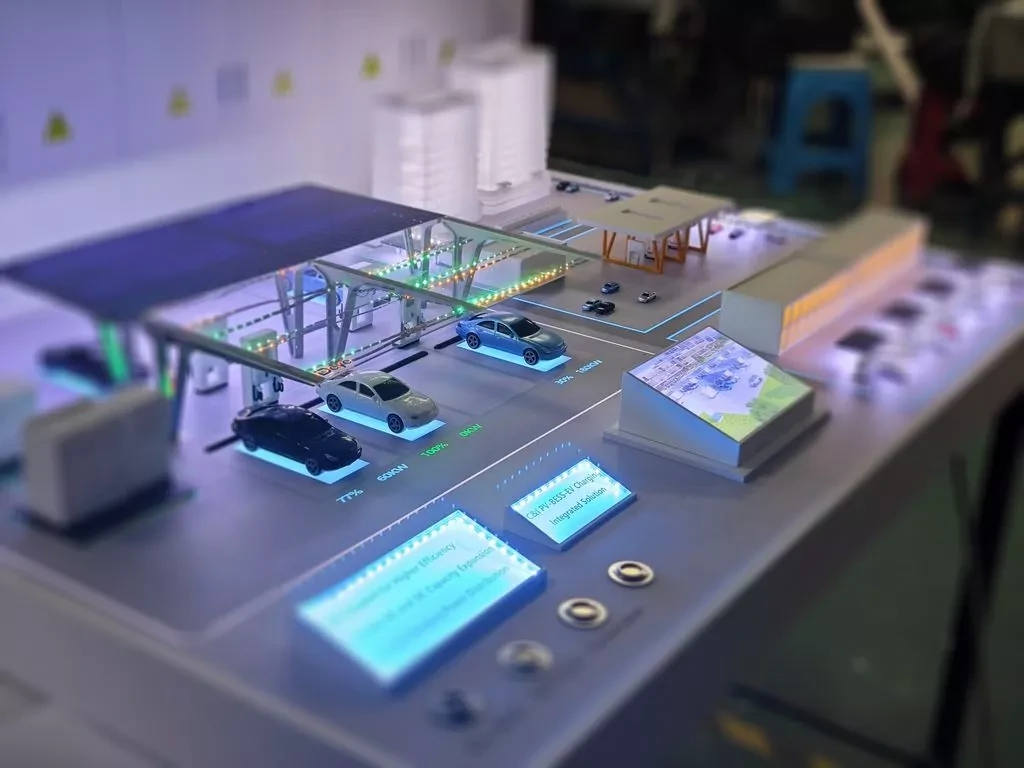
Scene Fusion: For sand table model projects, the architectural model is integrated with terrain features, roads, water systems, and other environmental elements. Lighting is often used to simulate day and night effects, transforming the model into a dynamic “narrative planning carrier”.