The Architectural Scale Model Making Process: From Blueprints to Physical Reality
Architectural model making is a fascinating blend of creativity and precision craftsmanship. This process transforms two-dimensional architectural drawings into tangible, three-dimensional representations, allowing for a deeper understanding and appreciation of the design. Whether you’re creating a scale model for presentation, planning, or educational purposes, understanding the process is key.
This guide outlines the typical steps involved in crafting a detailed architectural model, taking you from the initial concept to the final polished piece. We’ll explore the entire journey, from selecting materials to adding the finishing touches.
1. Preparation: Gathering Materials and Essential Tools
Before cutting any foam, careful planning and preparation are essential. The choice of materials and tools significantly impacts the final result.
- Material Selection: The choice of materials depends heavily on the architectural style and the desired effect.
- For traditional or Chinese architectural style models, foam board is often the primary material for walls and structures (easy to carve). To simulate landscapes, paving ground cloth is laid underneath the building, and its edges are carefully integrated. Wooden elements, like walls or decorative features, can be crafted from wood grain board, adding texture and warmth.
- For modern architectural style models, a sturdier base is often required. A hard foam structure provides excellent support and detail. Areas representing glass, such as windows or glazed facades, are typically made from acrylic plates, offering translucency and a sleek finish.
- Tool Preparation: Having the right tools ensures precision and efficiency. Essential tools include:
- Carving knife: For cutting intricate details, shaping curves, and refining edges in foam and wood.
- Hot melt glue gun: Ideal for quick, strong, and clean bonding of various materials without solvents.
- Sandpaper (various grits): Crucial for smoothing surfaces, removing sharp edges, and achieving a polished finish.
- Acrylic pigment and brushes: Used for coloring materials to match the architectural design and adding depth.
- Miniature LED lights: Essential for simulating interior lighting, creating ambiance, and highlighting architectural features.
2. Main Body Construction: Building the Structure
This is the core phase where the physical form of the building begins to take shape.
- Cutting the Basic Framework: Start by cutting the main body of the building’s structure from the chosen foam board or hard foam, following the architectural drawings. This forms the foundational box or base shape.
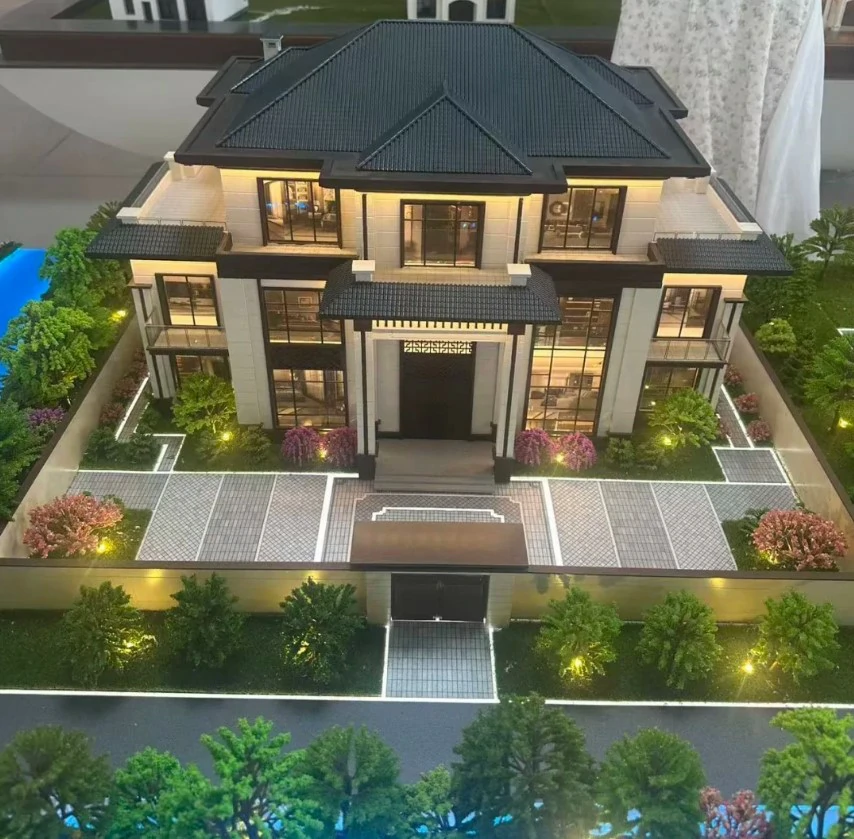
- Structural Refinement: Next, carve out essential architectural features such as the roof cornice (the decorative edge) and the ridge curve (the line where two sloping sides of a roof meet). During carving, constantly cross-reference the drawings to ensure accuracy in details like the curvature of the eaves (the outer edge of the roof) and the overall roof profile.
- Roof and Wall Details:
- For detailed roofs (like those with tiles), cut thin strips or shapes from a contrasting foam board (often dark foam) to represent tiles. Carefully piecemeal fix these onto the main structure.
- On wall surfaces, after initial shaping, use a carving knife to meticulously outline windows, doors, and other openings. This careful delineation allows the architectural elements to emerge naturally, giving the building a sense of “breathing.”
- Ground and Landscape Shaping: Integrate the ground plane effectively. Precisely cut and lay the paving ground cloth underneath the building model. Gently press the edges to ensure a seamless transition between the ground and the building base. For added realism, consider using wood grain board to frame the model against a background, carving the wood grain details to enhance the sand table model effect and give the wall a sense of age and texture.
3. Post-Processing: Bringing the Model to Life
The finishing touches are what elevate a good model into a great one, adding realism and depth.
- Coloring and Texturing: This step restores the visual authenticity.
- Apply white acrylic paint evenly to wall surfaces. Use light gray distressed paint sparingly to simulate the effects of weathering and aging.
- Paint the dark foam roof tiles in a dark gray, enhancing the “deep feeling” of the material and mimicking real slate or tile.
- Lightly coat the paving ground cloth with green paint, using a gradient technique to create a natural variation from lighter to darker tones, suggesting depth and distance.
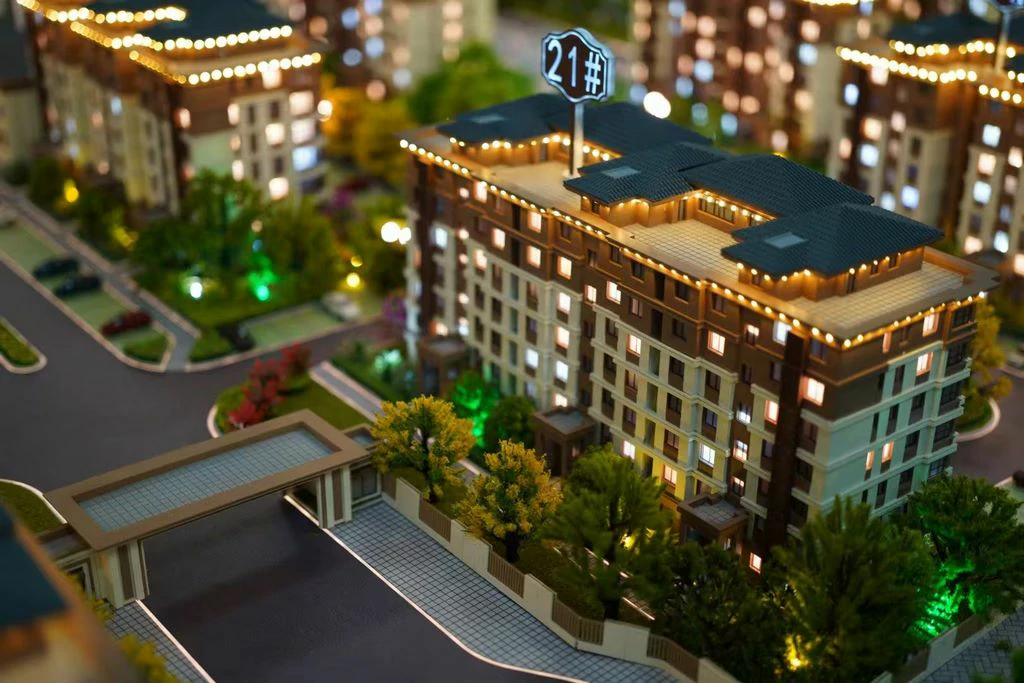
- Lighting: Lighting is crucial for highlighting form and atmosphere, bringing the model’s interior spaces to life. Install miniature LED lights (often battery-operated or solar-powered) inside the building. Adjust the brightness and position carefully during lighting debugging to accurately reproduce the original building’s light and shadow, avoiding harsh glares. This effectively simulates the illumination of interior spaces, casting realistic light and shadow.
- Detail Conclusion and Final Polish: This final stage ensures the model is smooth and cohesive.
- Use fine sandpaper to meticulously polish all surfaces, removing any tool marks and achieving a smooth, delicate finish.
- Clean the model thoroughly with a brush to remove any dust or debris.
- Perform final checks, making minor adjustments to edges, seams (like roof tiles), and any other details to ensure a high level of accuracy, often aiming for about 90% restoration of the original architectural intent.
- Consider adding small, intricate details like miniature landscape features, furniture silhouettes, or even 3D printing model elements for specific architectural accents to enhance realism.
Integrating Various Model Types
The architectural model making process can adapt to create different types of models:
- Scale Model: This is the most common type, representing the building at a reduced ratio (e.g., 1:50, 1:100, 1:500). Our process focuses primarily on creating detailed scale models.
- Sand Table Model: Often refers to models built within a larger sand or ground base, allowing for detailed landscape integration. Our ground shaping steps align closely with creating an effective sand table model.
- 3D Printing Model: While the core construction here often uses subtractive techniques (carving foam), 3D printing can be a powerful complementary technology for creating highly complex geometries, intricate details, small components, or rapid prototypes during the design phase before committing to the main model material.
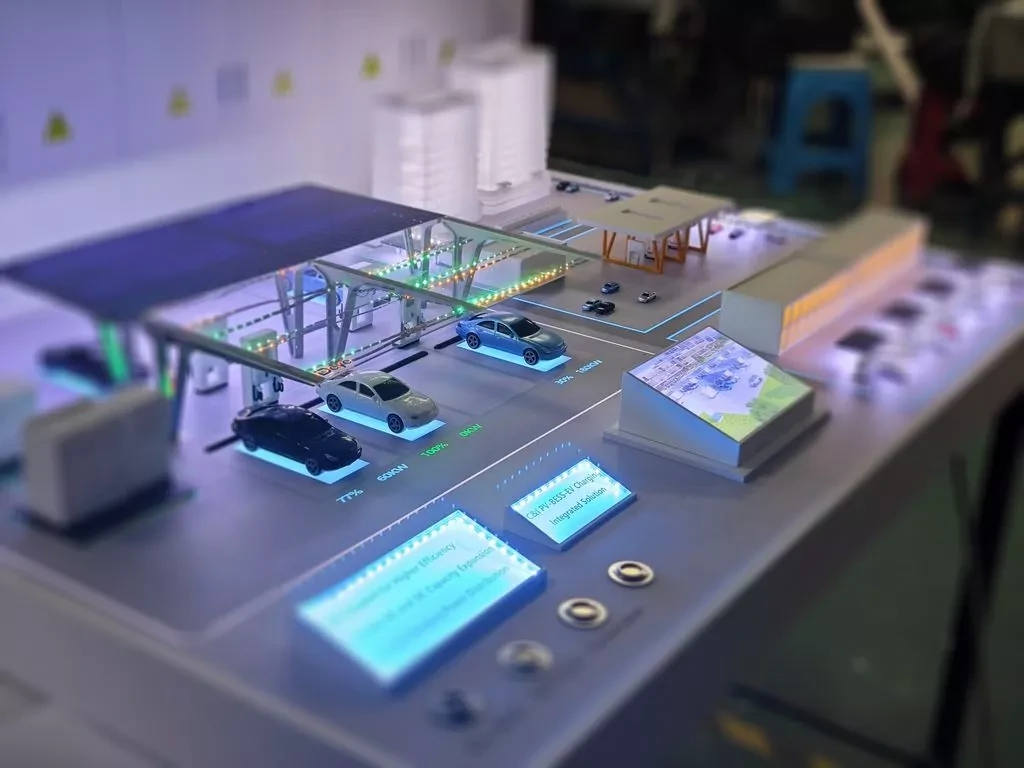
- Industrial Model: This term typically refers to larger-scale models or mockups of industrial or commercial buildings, machinery, or components. The same principles of material selection, structural integrity, detail work, and lighting apply, but the scale and complexity might differ. The process described can be scaled up accordingly for industrial model creation.