Sand Table Model Production: From Drawings to Finished Scale Models
The creation of a sand table model is a meticulous process that serves as a crucial tool in urban planning, architectural design, historical reproduction, and various industrial applications. This detailed guide walks through the complete process of transforming drawings into a finished scale model, highlighting the key stages, techniques, and considerations involved. Whether you’re working with traditional methods or incorporating 3D printing model technology, understanding the entire workflow ensures a high-quality outcome.
1. Initial Design and Planning
The first step in sand table model production involves translating project requirements into a viable design. This stage requires careful consideration of several factors to ensure the model aligns with the intended purpose and technical specifications.
Determine Scale and Dimensions
Before production begins, the appropriate scale for the model must be established based on the actual site size or desired display effect. This foundational decision directly impacts the model’s accuracy and usability. Once the scale is confirmed, precise dimensional drawings are created to guide subsequent construction phases.
Select Materials and Techniques
Choosing the right materials and production techniques is critical for achieving the desired outcome. Depending on the model’s purpose, various options include:
– Traditional materials like wood, metal, and plastic
– Modern technologies such as 3D printing model for complex components
– Specialized materials for specific effects or durability requirements
Establish Theme and Style
Defining the model’s theme and style early in the process ensures consistency throughout production. This includes considering the target audience, functional requirements, and aesthetic elements that will shape the final product.
2. Preparation Stage
After the design phase is complete, thorough preparation work must be conducted to ensure smooth production. This involves gathering necessary resources, creating essential components, and organizing tools and materials.
Collect Reference Materials
Comprehensive research is essential for accuracy. Gather all relevant project documentation, including architectural drawings, photographs, video references, and any other materials that can inform the model’s construction.
Create the Model Base Plate
The base plate serves as the foundation of the entire sand table model. It must be precisely level and constructed from materials that provide adequate support and stability for the model’s components.
Organize Production Tools and Materials
Efficient production requires meticulous preparation of all necessary tools and materials. This includes:
– Cutting implements and specialized carving tools
– Measuring instruments for precision
– Adhesives, paints, and finishing materials
– 3D printing model equipment if used in the production process
3. Production Phase
The production phase is where the model takes physical form and represents the most critical stage in the process. This hands-on work requires significant attention to detail and technical skill.
Component Carving and Assembly
Using either specialized carving machinery or manual techniques, model components are carefully shaped according to the design specifications. These parts must be assembled with precision to maintain dimensional accuracy and structural integrity.
Detail Refinement and Texturing
This meticulous process enhances the model’s realism and visual appeal. Attention to detail includes:
– Creating natural-looking vegetation features
– Adding surface textures and finishes
– Incorporating decorative elements that enhance the model’s aesthetics
– Using specialized techniques to achieve desired surface effects
Surface Treatment and Coating
Applying appropriate surface treatments significantly impacts the model’s appearance and durability. Common techniques include:
– Painting to match real-world materials and colors
– Applying protective coatings for weather resistance
– Using specialized finishes to enhance texture and realism
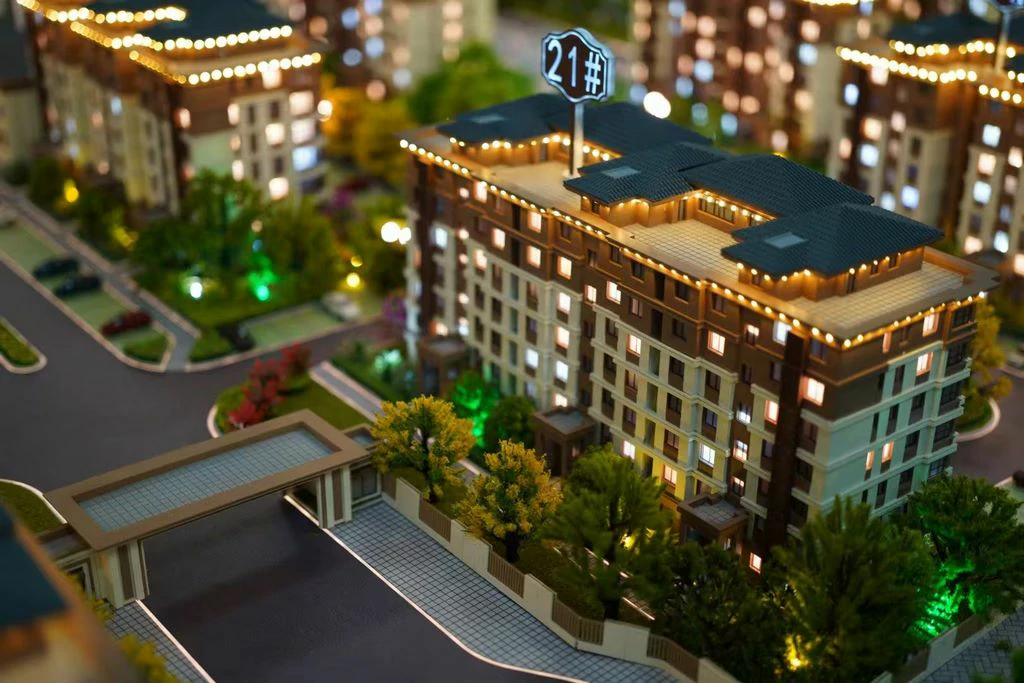
– Integrating lighting elements for enhanced visualization
4. Testing and Quality Assurance
Once the basic model structure is complete, thorough testing is necessary to verify performance and identify areas for improvement. This quality control phase ensures the final product meets all specifications and functional requirements.
Structural Integrity Testing
Comprehensive testing of the model’s structural components ensures safety and longevity. This includes:
– Checking load-bearing capacities
– Verifying dimensional stability under various conditions
– Testing component connections for strength and durability
– Ensuring overall stability to prevent collapse or deformation
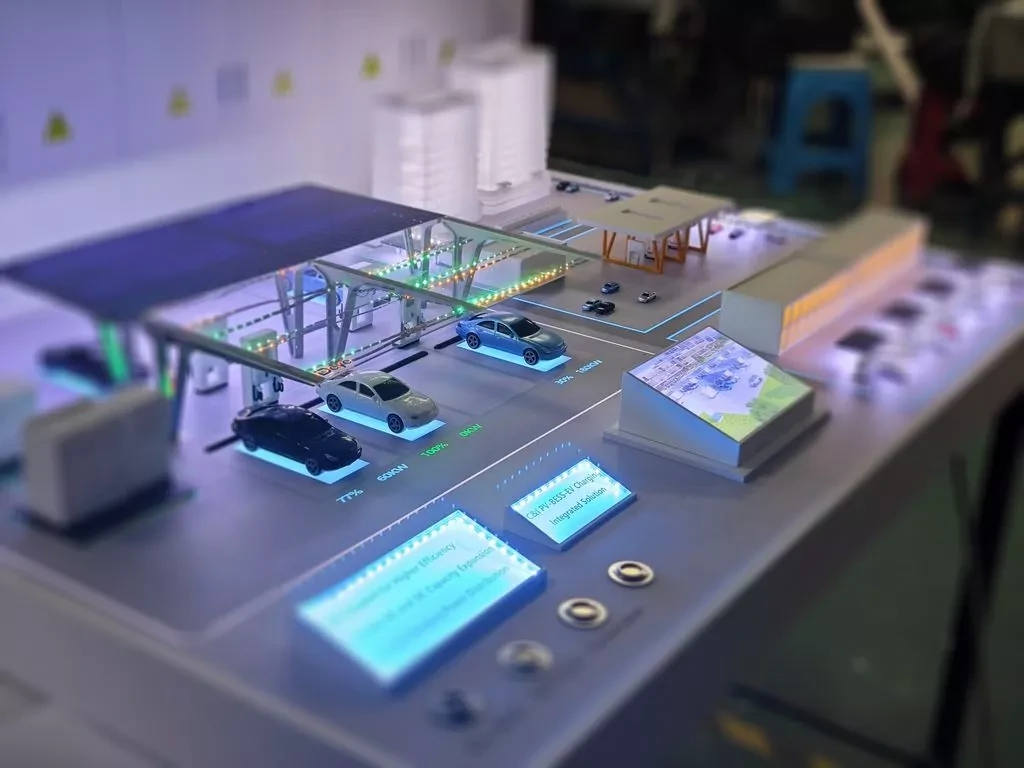
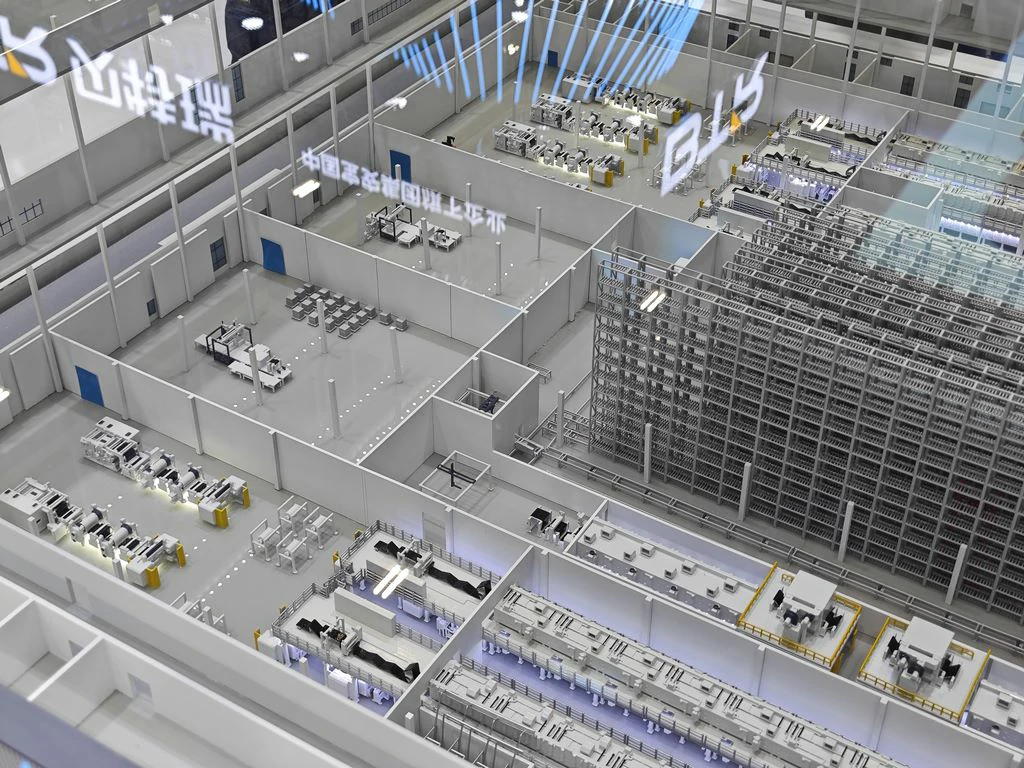
Functional Performance Verification
For models with interactive elements, thorough functional testing is required. This includes:
– Evaluating traffic flow patterns in planning models
– Testing component operability in industrial scale models
– Verifying accuracy of representational elements
– Ensuring all movable parts function as intended
Final Adjustments and Optimization
Based on testing results, necessary adjustments are made to optimize performance and appearance. This may include:
– Refining surface treatments for better visual impact
– Strengthening structural elements as needed
– Adjusting proportions or details to improve accuracy
– Incorporating client feedback to enhance satisfaction
5. Finalization and Presentation
The final stage focuses on completing the model’s appearance and preparing it for display or use. This finishing work ensures the model makes a strong impression and effectively communicates its purpose.
Cleaning and Preservation
Thorough cleaning removes production debris and prepares the surface for final treatments. Proper preservation techniques include:
– Removing residual adhesives and debris
– Polishing surfaces to enhance appearance
– Applying protective coatings for long-term preservation
– Implementing conservation strategies for permanent displays
Display Preparation
Effective presentation enhances the model’s impact and functionality. Considerations include:
– Designing appropriate display stands or mounting systems
– Incorporating lighting solutions to highlight key features
– Creating environmental elements that complement the model
– Developing protective enclosures for sensitive components
6. Conclusion: The Art and Science of Model Production
Transforming architectural plans or product designs into tangible scale models requires a blend of technical expertise, artistic sensibility, and project management skills. The complete process—from initial concept to polished finished product—involves careful planning, specialized craftsmanship, and attention to detail at every stage.
For professionals working with industrial model production or architectural visualization, understanding this comprehensive workflow enables better project planning and execution. Whether creating intricate 3D printing model components or traditional sand table models, the principles of design, material selection, and quality control remain fundamental to successful outcomes.
Through careful execution of these six stages, designers and production teams can transform abstract concepts into compelling, accurate physical representations that effectively communicate complex ideas and inspire confidence in their projects.