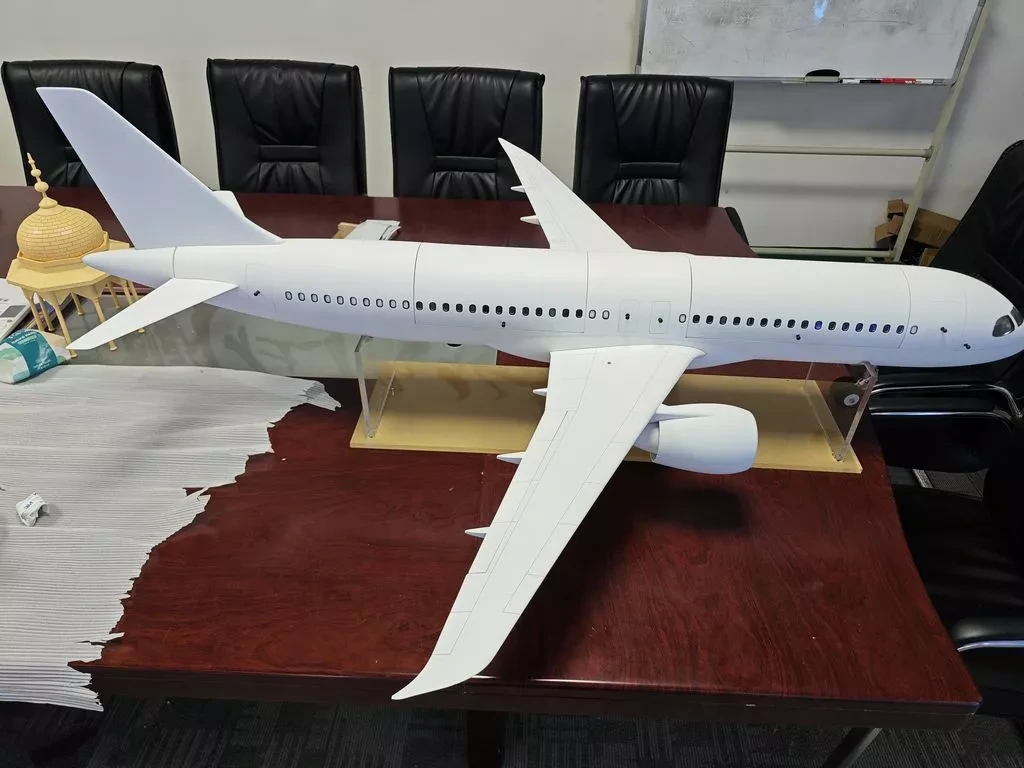
Aircraft Scale Model Making: From Drawings to Finished Aviation Models
Transforming Blueprints into Precision Scale Models
The creation of aircraft scale models is the intricate blend of imagination, meticulous craftsmanship, and unwavering patience. From the initial blueprint to the final, detailed miniature, every stage honours the ‘flying dream’. Taking a scale model aircraft as a case study, the entire process guides you through the steps to capture its essence.
1. Material Preparation: Selecting the Foundation for Your Model
The ‘skeleton’ of your scale model is the bedrock upon which the entire project rests. Choosing the right materials is crucial:
- Fuselage Framework: Lightweight woods like birch or oak are ideal, offering sufficient density for structural integrity while remaining easy to shape and polish. Their strength-to-weight ratio makes them perfect for the main structure.
- Wings & Tail Surfaces: Foam board is a popular choice for large components like wings and tail wings. It’s lightweight, easily carved and shaped, and provides a smooth surface for detailing.
- Small Components (Propeller, Landing Gear): Aluminum foil can be meticulously shaped to replicate the form of a metal propeller blade. Light alloys (balsa core with resin, or ABS plastic) are excellent for functional parts like landing gear struts. The focus is on accurately simulating the look and feel of the real aircraft’s metallic texture.
- Wheels: Resin wheels cast into basic shapes are then meticulously wrapped with silicone caoutchouc (rubber compound) to recreate the appearance of realistic, detailed rubber tires, including their subtle patterns.
2. Framework Construction: Building a Stable Structure
The foundation must be solid. Begin by carefully cutting out the fuselage, wing, and tail wing forms from the chosen wood. Using environmentally friendly wood glue, assemble these parts according to your scale drawings. Precision is key; ensure the structure is straight and true. Although it’s a static model, the structural logic must align with the real aircraft to ensure it stands firmly and looks correct.
3. Large Component Assembly: Forming the Model’s Outline
Once the framework is set, the foam wing and tail surfaces are carefully cut to shape. Edges should be smoothed and sanded for a clean fit. Apply the foam components to the wooden frame using appropriate adhesive. Utilize temporary supports and positioning clips during assembly to prevent any deformation or misalignment before the glue fully sets.
4. Fine Detailing of Small Parts: Bringing the Model to Life
These smaller elements add significant realism:
- Propeller: Roll aluminum foil into the desired blade shape. Carefully polish the edges and surfaces using fine sandpaper to achieve a convincing metallic sheen.
- Landing Gear: Create struts from thin dowels or light alloy rods. Cast resin wheels are then fitted. To enhance realism, these wheels can be meticulously wrapped with silicone caoutchouc and even further detailed with small knife work to add tire wear patterns or logos.
- Windscreen: Cut clear acrylic sheets to the exact contours of the cockpit opening. Sand the edges gently with fine sandpaper to give the glass a subtle rounded finish, enhancing the model’s appearance.
5. Post-Processing and Finishing: Adding the Model’s Soul
This is where the model truly comes to life:
- Polishing:
- Start with coarse sandpaper (120 grit) to smooth all surfaces and edges.
- Progress to finer grit sandpaper (400 grit) for the edges and seams, removing sharp edges.
- Finish with a polishing cloth to achieve a desired ‘matte’ or satin finish. This mimics the non-reflective, industrial appearance of many real aircraft while preventing glare that obscures details.
- Coloring Process:
- Base Coat: Spray a light gray primer over the entire model (fuselage, wings, tail). This creates a uniform base, preventing colour bleeding from the primer underneath and ensuring subsequent colours look richer and more accurate.
- Layered Painting: Apply the main body colour first (e.g., white). Then, apply darker colours for specific areas (e.g., blue for wing leading edges). Finally, use silver or metallic paint on components like engine intakes or landing gear wells to replicate the look of metal.
- Detail Marking: Employ fine brushes and paint to meticulously add window outlines, identification markings, company logos, and even subtle signs of wear like faint scratches or rivet heads. These details add authenticity and character.
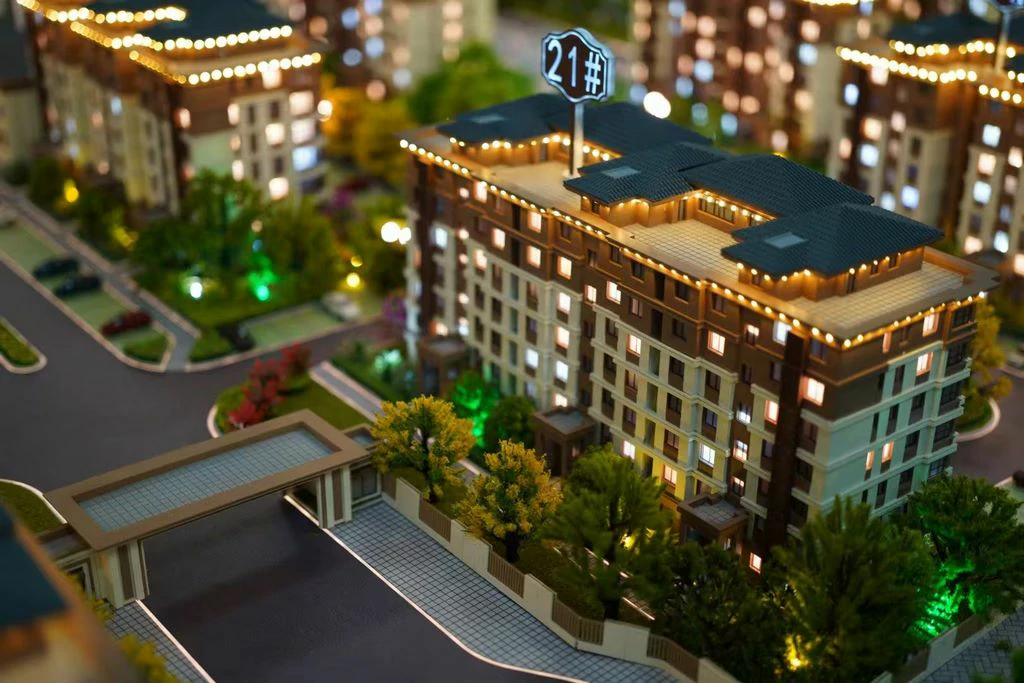
Diverse Model Types: Scale Model, Sand Table Model, and 3D Printing Model
While this guide focuses on traditional wood and foam construction, the principles of precision apply across different model types:
- Scale Model: This is the primary category, aiming for high accuracy to the original design.
- Sand Table Model: Often used for presentations or engineering studies, these might be more conceptual but still benefit from the same level of detail, especially in scale model form.
- 3D Printing Model: Rapid prototyping allows for complex geometries. While not a focus here, 3D printing can be used effectively for parts like landing gear or intricate engine details, complementing traditional scale model building techniques. The finishing process remains similar, often involving sanding and painting to achieve a smooth, professional appearance.
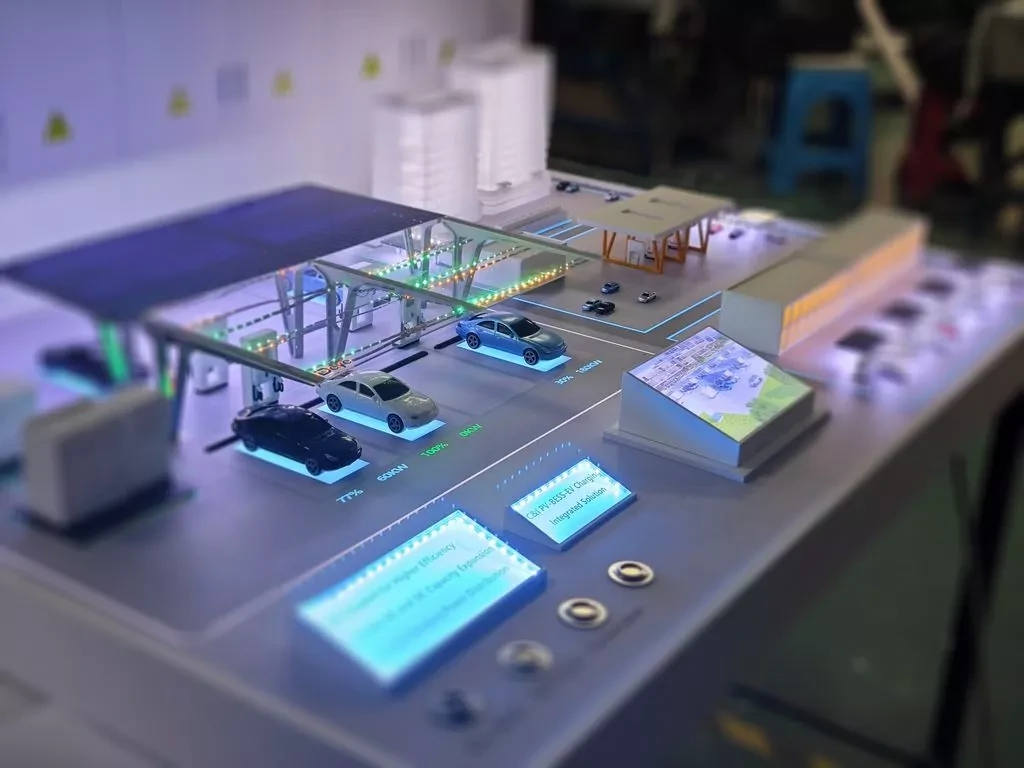
Industrial Model Requirements
The finishing techniques described (polishing, sanding, multi-stage painting) are also applicable to creating detailed industrial models, ensuring components meet stringent aesthetic and functional standards often required in this sector.