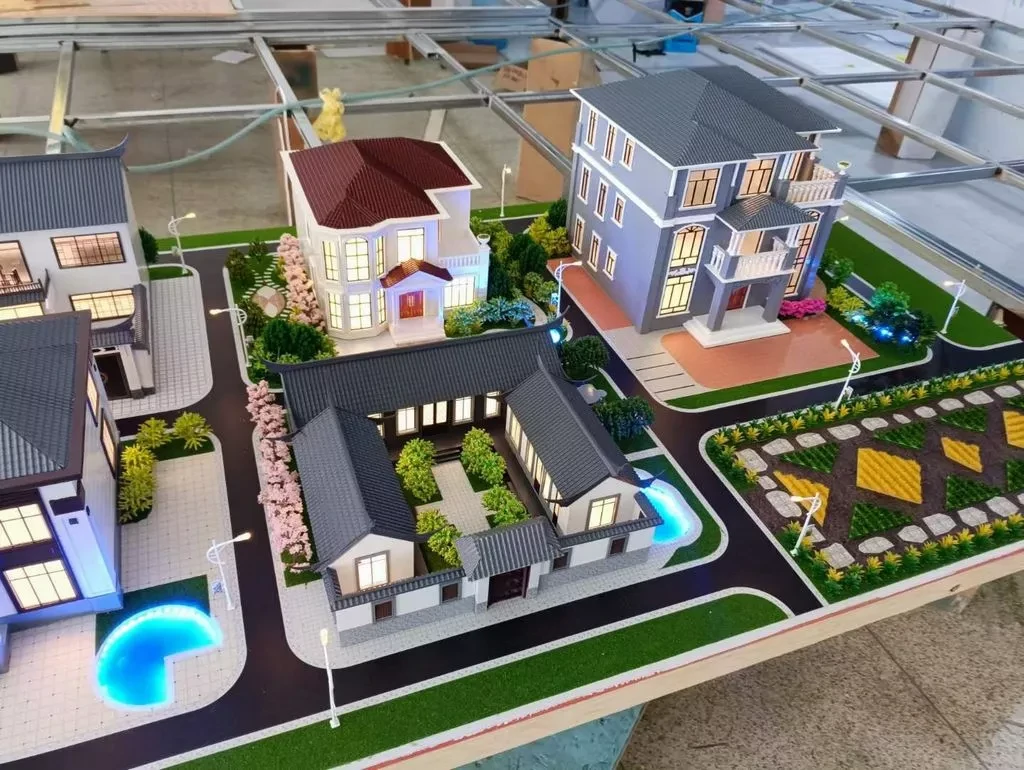
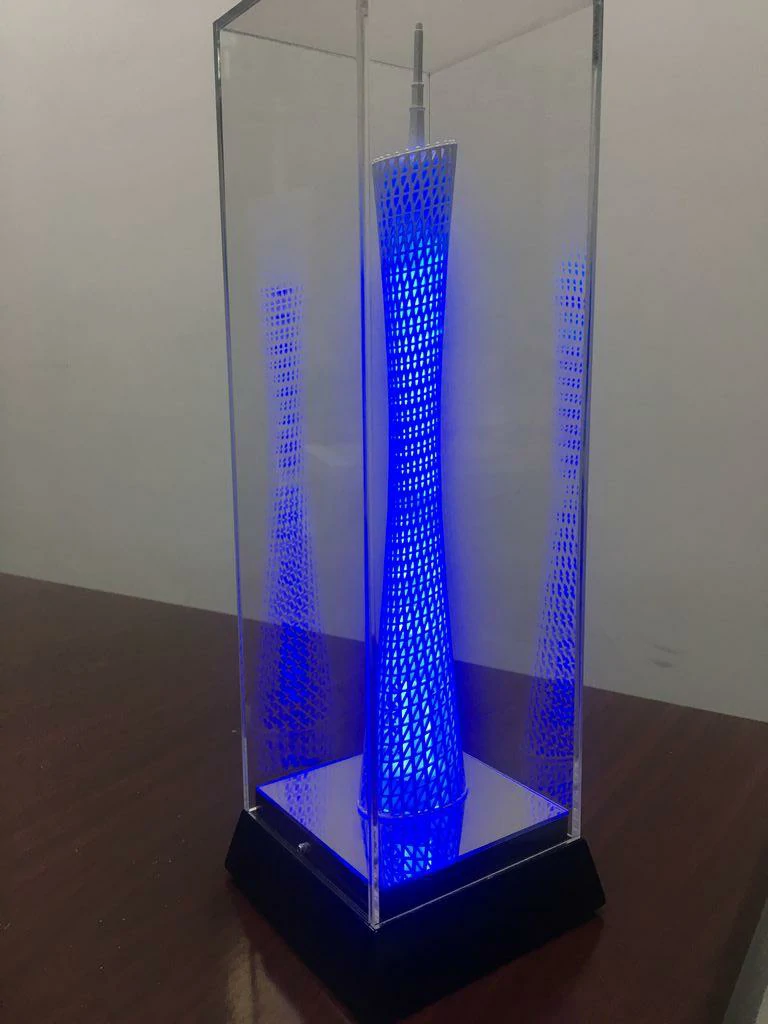
City Landmark Building Model for Corporate Gifts: The Guangzhou Tower Case Study
Analysis of Guangzhou Tower Building Gift Model Production Using Photosensitive Resin
In the diverse world of architectural gift model production, the Guangzhou Tower (Canton Tower) stands out as an exceptional example to showcase its intricate manufacturing process. Its unique, slender waist shape combined with a complex mesh structure presents specific challenges and opportunities for model production. The 3D printing model technology, specifically utilizing photosensitive resin (a type of photopolymer), offers a high-precision solution ideal for creating detailed scale models of such landmark buildings.
This guide outlines the complete process for producing a high-quality Guangzhou Tower scale model using photosensitive resin and specialized 3D printing model techniques.
Step 1: Digital Modeling and Structural Optimization
The initial phase involves creating an accurate 3D model of the Guangzhou Tower using computer-aided design (CAD) software. This stage requires meticulous attention to detail:
-
Detail Restoration: The primary goal is to accurately reproduce the tower’s iconic mesh structure shell and its distinctive slender waist shape. The final 3D model must be exported in a standard format, typically .stl (Stereolithography), which records the model’s geometry using a triangular mesh.
-
Support Structure Design: A critical aspect is designing specialized support structures. These are necessary to prevent deformation or collapse of cantilevered parts and isolated areas during the actual printing process. Effective support is vital for maintaining structural integrity in the initial 3D printing model stages.
Step 2: Slicing and Parameter Setting
The next step involves importing the .stl file into specialized 3D printing model software (slicer). This software analyzes the model and decomposes it into a series of 2D layers (typically 25-100 microns thick) for the printing process.
Key parameter settings during this stage include:
-
Layer Thickness: Selecting the optimal layer thickness (e.g., 25-100 microns) is crucial. Smaller layers generally yield smoother surface finishes but significantly increase printing time.
-
Fill Density: Adjusting the internal fill density according to the required structural strength for the scale model ensures durability without excessive material use.
-
Support Parameters: Fine-tuning support structure density and contact points is essential. The goal is to enable easy removal post-printing without leaving visible marks or damaging the model.
Step 3: Printing Preparation and Device Calibration
Before starting the actual printing, thorough equipment inspection and material preparation are required:
-
Photosensitive Resin Selection: Choose the appropriate photopolymer resin type based on the model’s requirements. Options include general-purpose resin, high-strength resin, or high-transparency resin. The chemical composition of photosensitive resin usually involves oligomers, reactive diluents, and photoinitiators that cure under light exposure.
-
Equipment Calibration: Precise calibration is vital for quality. This includes checking the output power and wavelength (e.g., for helium-cadmium or argon-ion lasers) and ensuring the printing platform is perfectly level for uniform curing, especially for the critical first layers of the 3D printing model.
Step 4: Layer-by-Layer Solidification Printing Process
The actual 3D printing model process begins:
-
Platform Positioning: The printing platform descends to a precise distance above the liquid resin reservoir, typically one layer thickness, ensuring even resin coverage.
-
Laser Scanning: Based on the sliced data, the ultraviolet laser precisely scans the surface of the resin, triggering a photopolymerization reaction that solidifies the liquid photosensitive resin into a solid layer.
-
Layer Stacking: After each layer cures, the platform descends by one layer thickness, and a fresh layer of liquid resin is dispensed. The laser then scans this new layer, bonding it to the one below, repeating the process until the entire scale model is built.
Step 5: Support Removal and Post-Processing
Post-printing requires careful finishing to achieve the desired appearance and quality:
-
Support Removal: Carefully remove the support structures from the Guangzhou Tower scale model. This requires dexterity to avoid damaging the delicate mesh structure or other fine details.
-
Cleaning Treatment: Use appropriate solvents (like isopropanol) to clean the model’s surface, removing any uncured resin residue.
-
Secondary Curing: Place the model in a dedicated UV curing box for additional post-curing. This enhances the material’s mechanical properties, stability, and overall appearance.
-
Surface Finishing: Depending on the desired finish, perform operations such as grinding, polishing, or applying a clear coat (transparent coating) to enhance gloss and smooth the surface.
High Precision Machining Techniques for Critical Components
For components with extremely high dimensional accuracy requirements (like the top antenna of the Guangzhou Tower), specialized techniques are employed. Composite manufacturing can be used, where initial parts are printed with photosensitive resin, and critical elements are then precision-machined using CNC technology, achieving dimensional accuracies often below 0.01mm.
Conclusion
Producing a scale model of the Guangzhou Tower using photosensitive resin and advanced 3D printing model technology is a sophisticated blend of modern manufacturing and precision craftsmanship. Each stage, from digital modeling to final finishing, demands careful control to accurately capture the architectural beauty and complexity of this landmark within miniature scale.
This detailed process demonstrates the capabilities of industrial model production and highlights the wide application potential of photosensitive resin 3D printing model technology in creating high-end, complex architectural gift models.