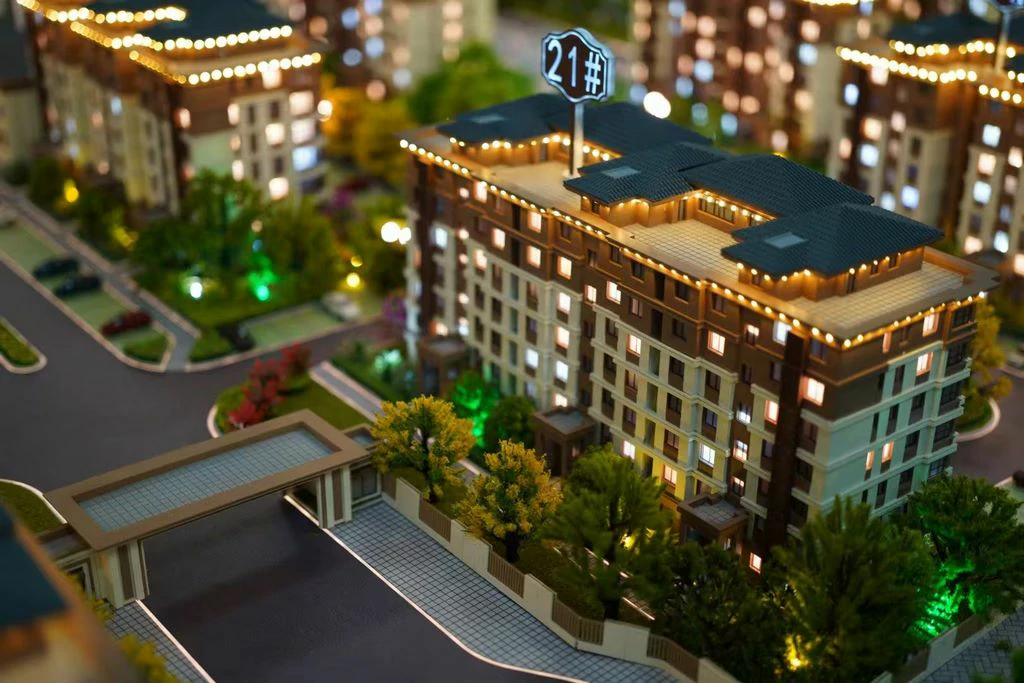
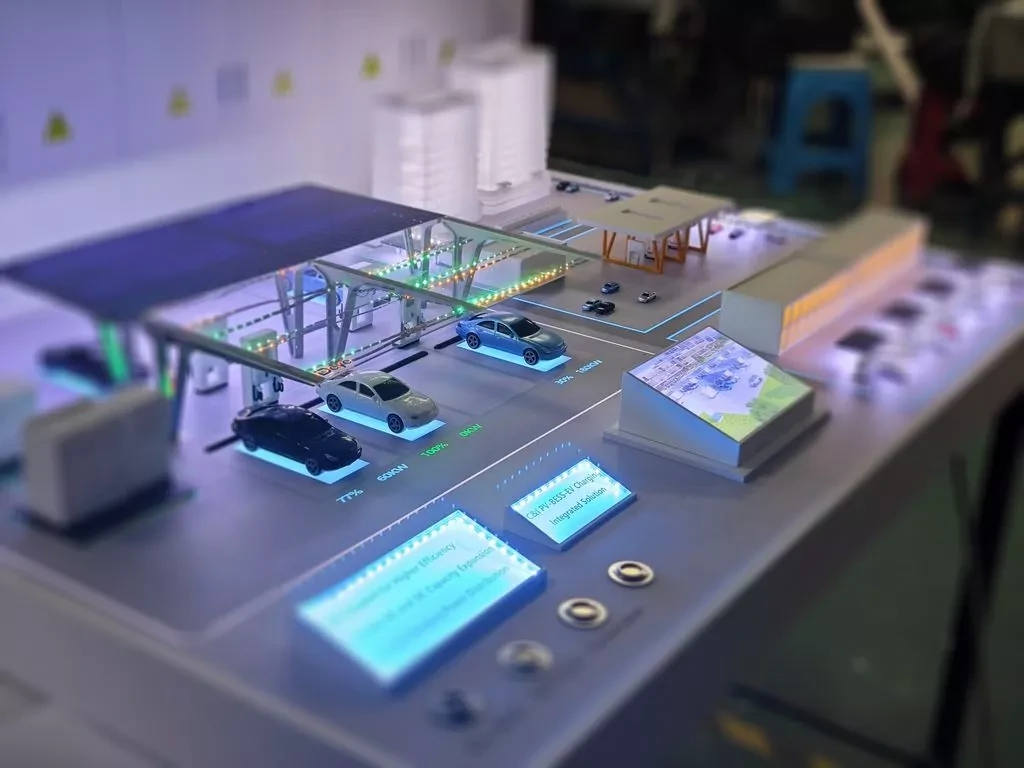
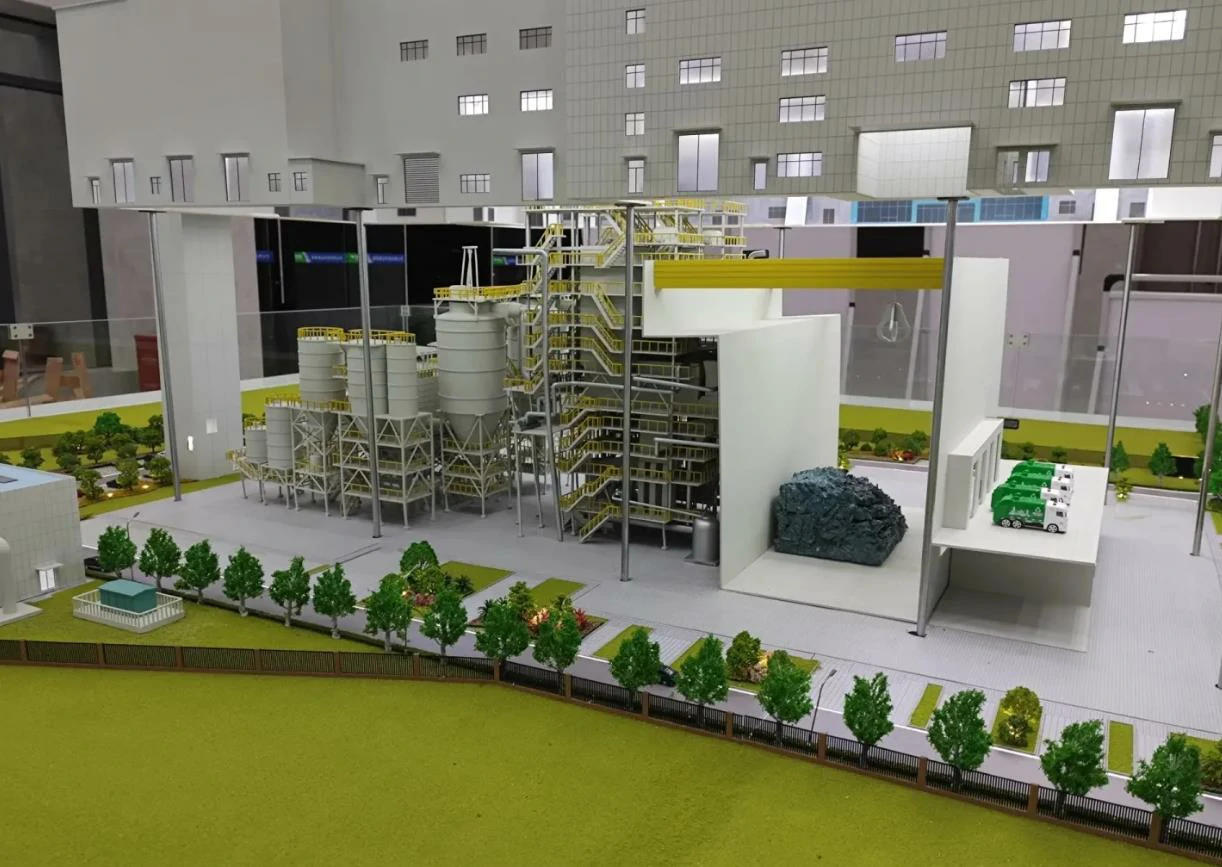
Resin Process Display Models: Essential Guide for Scale Models, Sand Table Models, & Industrial Models
Creating a resin process display model—whether a scale model, sand table model, or industrial model—is a meticulous blend of technical skill, artistic vision, and patience. These models find applications in scale model production, sand table model creation, industrial model design, 3D printing model validation, and even collectible art. The final quality hinges on precise control over every stage of the production process. Here are core considerations to systematically enhance your success rate and the expressive quality of your models.
🎯 1. Material Selection and Precise Proportioning
Choosing the right resin and strictly managing its composition are foundational for successful results.
-
Rational Selection of Resin Types:
- Selecting the appropriate resin (materials) is crucial based on the specific requirements of your scale model, sand table model, or industrial model.
- Epoxy Resin: Ideal for high-precision scale models and sand table models due to its high adhesion, low shrinkage rate, and ability to finely replicate details.
- Polyester Resin: Often used for 3D printing model validation or larger industrial model projects where high detail isn’t the primary focus, offering good fluidity and lower cost.
- Other Options: Consider UV resins for specific applications or casting resins for different properties.
-
Strict Ratio and Mixing Control:
- The ratio of resin to curing agent (or hardener) must be exact for reliable curing. Always consult the manufacturer’s datasheet.
- Inaccurate proportions can lead to critical issues like incomplete curing (surface stickiness), weak physical properties, or model failure.
- Recommendation: Use an accurate digital scale (measuring in grams) for all components. Mix thoroughly for at least 3 minutes, scraping the sides and bottom of the container to ensure homogeneous fusion. Be mindful not to introduce excessive air bubbles through vigorous mixing.
🔧 2. Mold Preparation and Optimization
The quality of your final model is directly tied to the mold used, especially for scale models, sand table models, and 3D printing model replicas.
- Careful Mold Handling:
- Mold Quality: The mold dictates the final appearance. Silicone molds are popular due to their excellent flexibility, detail reproduction, and ease of demolding complex shapes without damage.
- Pre-Pour Preparation: Ensure the mold cavity is clean, free from dust or oil. Apply a suitable release agent (wax, silicone spray, mold release compound) sparingly and evenly if needed to facilitate smooth demolding and protect both mold and model.
- Mold Structure & Rigidity: For high-precision scale models or industrial models, the mold’s structure and rigidity are critical. Weak or poorly designed molds can deform under resin weight or during processing, compromising dimensional accuracy. Consider reinforcing structures.
- Temperature Control: Design the mold or its environment for stable temperature. A consistent temperature helps minimize shrinkage and warping, crucial for accurate scale models and detailed sand table models.
💦 3. Casting and Curing Environment Control
Mastering the pouring and curing steps is essential for achieving a smooth, clear, and structurally sound model, applicable to 3D printing models, scale models, and industrial models.
-
Master Pouring Techniques:
- Pouring Speed & Path: Control the pour speed to avoid introducing air bubbles. Slow pouring along the mold edge or into specific points allows resin to flow naturally and fill voids. Consider staged pouring (pouring sections separately, allowing partial curing before adding more) or pressure casting (using air pressure or vacuum) for complex parts or large industrial models.
- Bubble Management: Minimizing bubbles is key for a clear finish in scale models and sand table models. Slow, deliberate pouring and potentially using degassing techniques (like vacuuming or heat) can help.
-
Ensure Stable Curing Conditions:
- Temperature: Resin curing is highly temperature-sensitive. Low temperatures can significantly slow or disrupt curing. Optimal temperatures vary by resin type (check the datasheet).
- Environment: Place the mold in a well-ventilated, dry, and temperature-stable area for curing. Avoid locations with fluctuating ambient temperatures. Ensure the environment is clean to prevent dust from settling on the uncured surface.
- Curing Duration: Allow sufficient time for the full curing cycle according to the resin type and temperature.
👷 4. Safety Protection and Standardized Operation
Safety is paramount when working with chemical resins and curing agents, common in 3D printing model production, scale model creation, and industrial model fabrication.
-
Personal Protective Equipment (PPE):
- Always wear gloves, safety glasses, and a suitable face/eye protection (like a protective mask to prevent inhaling organic vapors) when handling resin and curing agents. These materials can cause skin irritation, allergic reactions, or harm if inhaled.
- If irritation or discomfort occurs during work, stop immediately and seek medical advice.
-
Maintain a Safe Working Environment:
- Work in a well-ventilated area (open windows, exhaust fans, or dedicated fume extractors are recommended). Keep the workspace clear of open flames and high heat sources, as resin components are flammable.
- Store unused materials securely and label them clearly. Clean spills promptly and wipe down the work area after use to minimize hazards.
✨ 5. Post-Processing and Quality Enhancement
Refining your model after demolding is crucial for achieving a professional finish, applicable to all types of models from scale models to industrial models.
-
Fine Tuning and Polishing:
- Address imperfections like parting lines, gate marks, and minor bubbles. Use progressively finer grit sandpaper (starting with coarse and moving to finer) for smoothing. For a smoother finish, wet sanding can be effective. Files can be used for larger imperfections.
- Detail Enhancement: Use carving knives or modeling tools to carefully remove minor imperfections or refine surface textures for a more polished look, especially important for intricate scale models or sand table models.
-
Scientific Coloring and Protection:
- Coloring: Primarily used on scale models, sand table models, or finished industrial models. Applying a primer first can significantly improve pigment adhesion. Choose coloring methods (hand-painting or spraying) based on desired effect; spraying often provides a more uniform finish. Be cautious with pigment quantity, as excessive colorants can interfere with the resin’s curing process.
- Protective Coating: After coloring, apply a clear protective coating (gloss or matte varnish/sealer) to shield the paint, enhance durability, and provide a professional finish.
-
Maintenance and Storage:
- Handle finished models gently to avoid chipping or scratching.
- Store models away from direct sunlight, extreme temperatures, and high humidity to prevent fading, deformation, or premature aging.
- Display: Use dust covers or display cases for scale models, sand table models, and valuable industrial models.
- Clean gently with a soft, lint-free cloth.