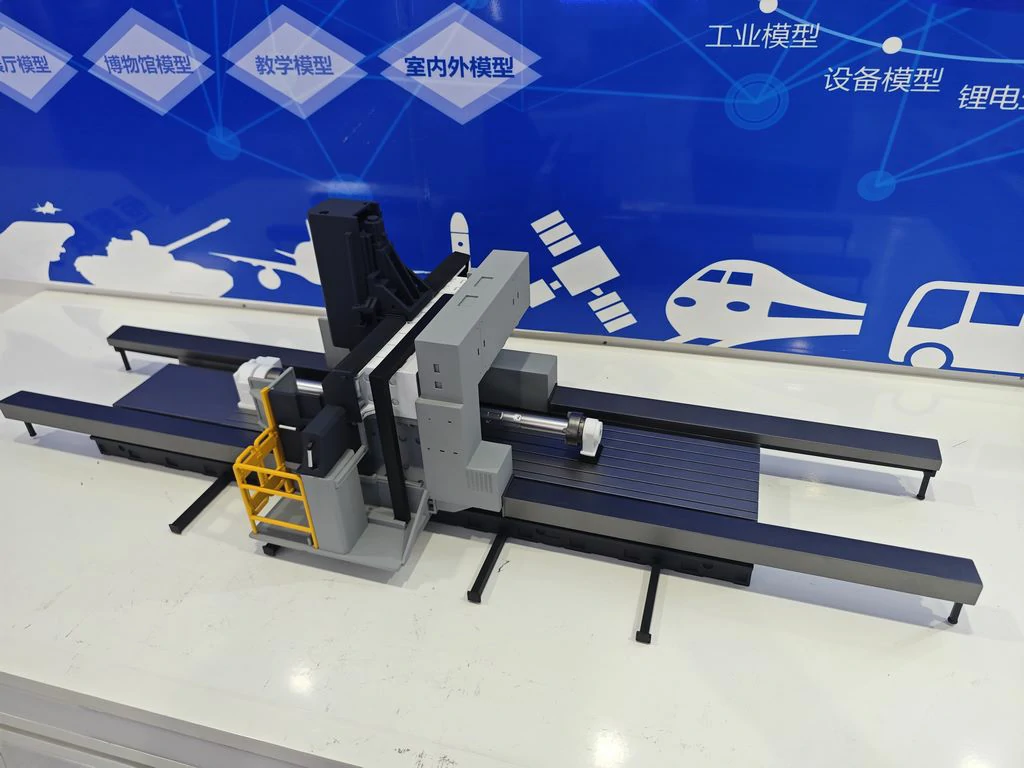
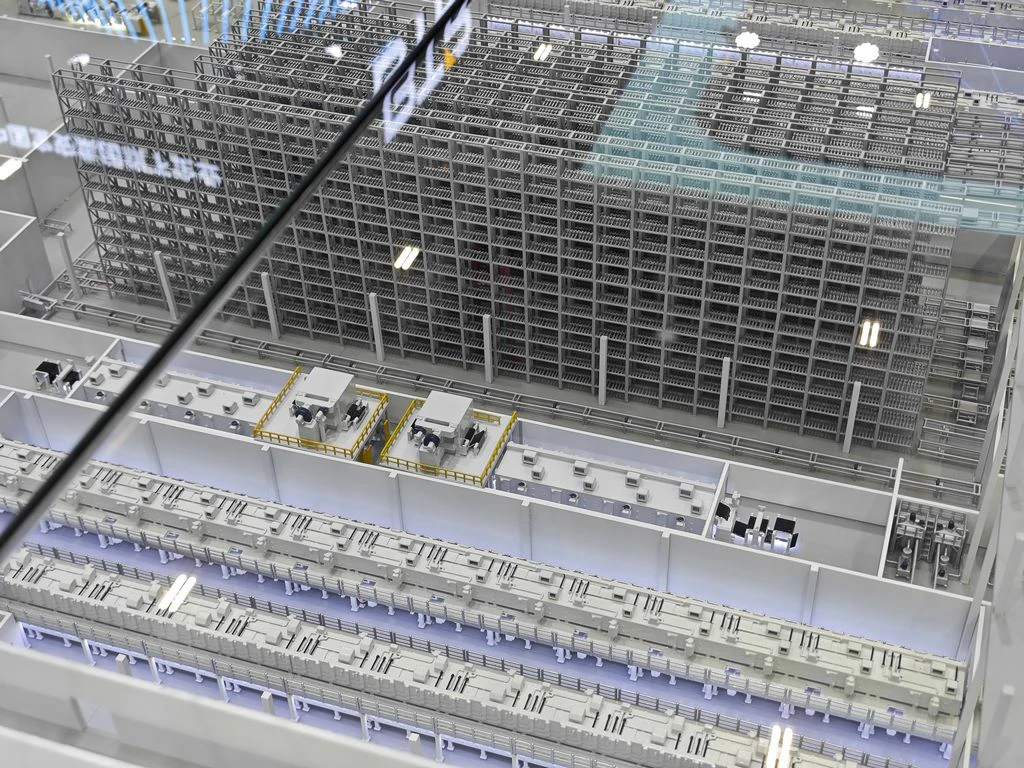
Energy Storage Cabinet Model Factory: High-Fidelity 1:10 Scale Production Plan

1. Project Objectives and Overall Plan
This production plan outlines the creation of a scale model of an energy storage cabinet, designed to achieve a fidelity level of not less than 90%. The scale model will accurately depict the appearance structure, material texture, color, and industrial details of the physical cabinet. The core production strategy employs a process of piece production, modular assembly, and specialized painting to ensure both accuracy and realism.
The overall production process is divided into three distinct stages:
- Design and material preparation stage: 3D modeling and drawing output, material procurement and inspection.
- Core production stage: main structure production → detail component processing → surface pretreatment.
- Painting and final assembly stage: primer spraying → color separation coating → aging texture treatment → final assembly and effect fixation.
2. Detailed Phased Production Plan
Phase 1: Design and Material Preparation
3D Modeling and Drawing Disassembly:
Based on physical measurement data, conduct a 1:10 scale 3D modeling. Following modeling, disassemble the overall model into individual machinable part drawings, including side panels, top panels, door panels, grilles, etc., labeling all dimensions, assembly relationships, and material requirements.
Material Preparation:
- Main Structural Material: 5mm thick high-quality white acrylic board for constructing the cabinet’s six sides. This material offers stable dimensions, smooth cutting, and a heavy texture.
- Internal Skeleton Material: 3mm × 3mm ABS square tube combined with ABS corner code to form an internal support frame, ensuring overall rigidity.
- Panel and Detail Materials: 1mm-2mm thick ABS board for door panels, decorative cover plates, etc., valued for its ease of cutting, polishing, and bonding.
- Special Detail Materials:
- Cooling Grille: Finished plastic etched sheet grille purchased to ensure precise mesh regularity.
- Door Handles and Warning Signs: High-precision 3D printing model using photosensitive resin to replicate complex three-dimensional shapes.
- Observation Window: 0.5mm ultra-thin transparent acrylic board simulating glass.
Phase 2: Core Production
Main Structure Fabrication Plan:
- Skeleton Construction: Accurately cut ABS square tubes according to drawings, using model glue and right angle fixtures to bond the internal cubic frame. Employ a square ruler to verify all angles are 90 degrees.
- Cabinet Closure: Glue laser-cut acrylic side panels, top panels, and bottom panels to the frame using specialized acrylic adhesive for seamless bonding via capillary action. All visible external seams require preparation for subsequent polishing.
Detail Component Processing Plan:
- Door Panel Production: On the back of the ABS door panel, use a hook knife to carve a concave line with a depth of approximately 0.2mm to simulate a real door panel’s splicing seam.
- Grille and Handle Installation: Drill holes at preset positions on the door panel, fixing the etched plate grille and 3D printing model handle from the back with glue to ensure a clean front surface free of glue marks.
- Display Screen Simulation: Employ a layered structure: the bottom layer features stickers with false UI patterns, the middle layer uses black acrylic board to simulate the screen off state, and the outermost layer is formed cut transparent acrylic board as glass.
Surface Pretreatment (Key Step):
After all components are bonded, thoroughly polish the entire scale model. Fill soil and joints using a model, then perform step polishing with 400, 800, and 1200 grit sandpaper from coarse to fine until all filled areas are perfectly smooth and indistinguishable.
Phase 3: Painting and Final Assembly
Pre-Coating Treatment:
Wipe the model thoroughly with alcohol swabs to remove oil stains and polishing dust, ensuring optimal paint adhesion.
Spray Primer:
Apply gray water-based putty as a whole. The primer serves to unify the base color, conduct a secondary inspection for surface defects, and provide an excellent substrate for the topcoat.
Color Separation Coating Scheme:
- Main Color Spraying: Utilize the “thin coating multi-layer” method to spray the primary color (e.g., equipment gray). Apply very thin layers of paint, waiting 10-15 minutes for surface drying between applications. Usually, 3-4 layers achieve perfect coverage and prevent sagging.
- Auxiliary Color and Identification Processing:
- Covering Spray Method: For large-area auxiliary color blocks (e.g., yellow warning strips). Mask the main color area using low viscosity masking tape and liquid masking solution after the main color paint is cured (24 hours), then spray auxiliary colors.
- Water Sticker Method: For complex brand logos or small logos. Print the pattern on a water sticker, cut and place it on the model surface, absorb moisture, and finally spray a softener to conform perfectly to the surface contour.
Aging and Texture Expression Scheme (Enhancing Realism):
- Stain Washing: Dilute dark brown oil paint and apply it to the model surface, allowing it to flow into gaps and grilles. When half-dry, wipe the convex surfaces with a solvent-soaked cotton swab, leaving pigment only in concave lines to enhance shadows and layering.
- Dry Sweeping: Use a flat head pen to apply a small amount of light gray or silver model paint almost dry on paper, then gently sweep over protrusions such as door handles, edges, rivets, etc., creating natural wear and metallic texture.
Final Assembly and Protection:
Perform final assembly and install all independently processed components. Spray a matte transparent protective paint to seal the model, eliminating reflections from plastic and paint, giving it a realistic industrial equipment matte texture, and permanently protecting the underlying paint layer and aging effects.
Requirements:
- Fix Chinglish, use natural professional English.
- Integrate keywords: scale model, sand table model, 3D printing model, industrial model.
- Keep ALL markdown: images
, links text, headings ##, lists, bold text.
- Output ONLY the rewritten content, no introduction, no explanation, no “Okay here is…”, no “Detail Optimization“.